Keeping Honey Bees: A Homesteader's Guide to Hives, Honey, and Pollination
Two hives in a quiet corner pollinate your land and pay you back in honey and wax, with no daily chores but real seasonal know-how required.
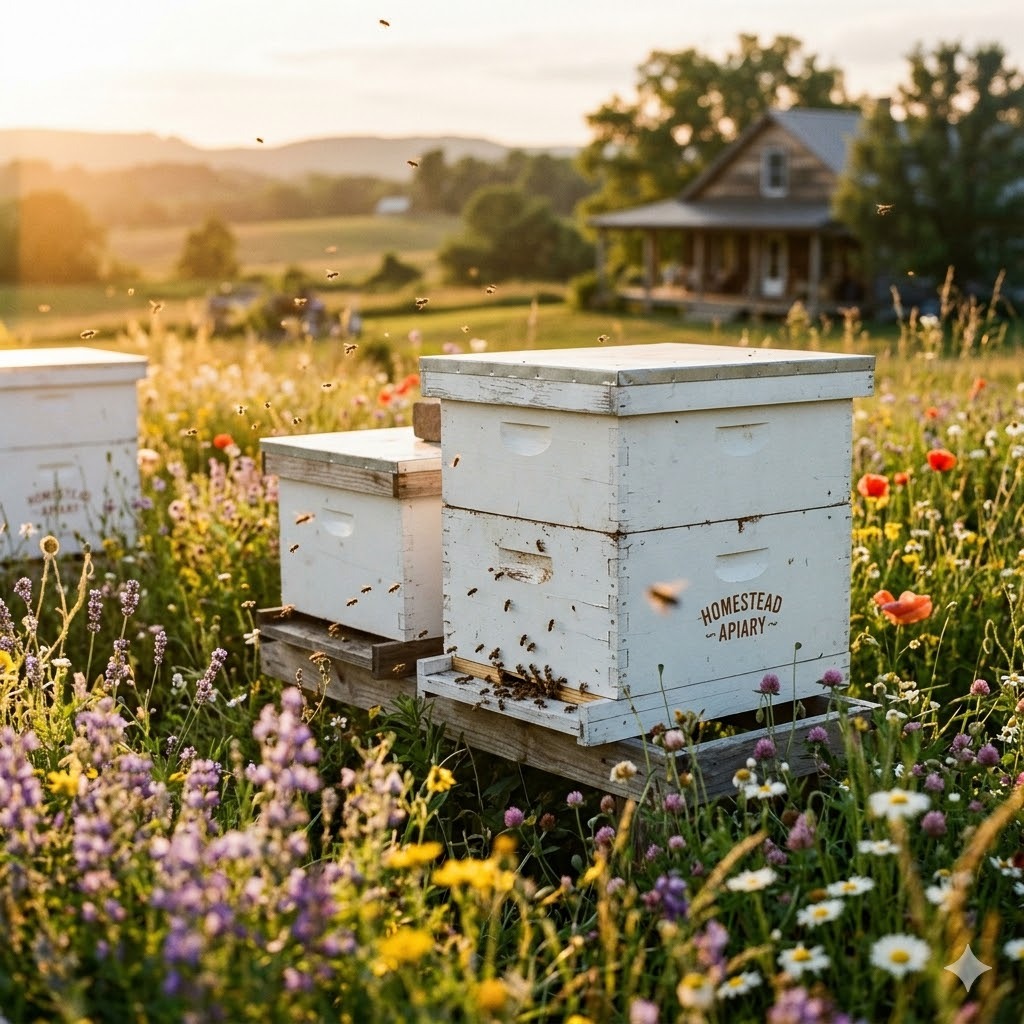
Honey bees are the rare bit of livestock that asks for almost nothing day to day and gives back generously: jars of honey, sheets of wax, and pollination that lifts your whole garden and orchard. You will not be hauling feed or mucking out at dawn. What bees do need is an informed keeper who shows up at the right moments through the year and knows what they are looking at. Get that part right and a couple of hives in a back corner will quietly earn their keep for decades.
Is it right for you?
Bees break the usual homestead rhythm. There are no daily chores, no morning feeding, no fences to mend after a storm. But that freedom comes with a catch: when bees do need you, they need you to know what you are doing. Beekeeping is seasonal management, not constant attention, and the difference between a thriving colony and a dead one often comes down to a handful of well-timed decisions across the year. Skip the spring swarm check or miss a mite problem in late summer and you can lose the whole hive.
Stings are simply part of the deal. Even gentle bees will catch you now and then, and you should be honest with yourself about that. If you or anyone in your household has a known bee-sting allergy, talk to a doctor before you start, and keep that risk in mind for family and visitors. Think hard about placement and neighbors too: bees fly far and bother no one most of the time, but a hive entrance pointed at your neighbor's patio or a kid's trampoline is asking for friction. A little planning keeps the peace.
The single best thing you can do before buying a bee is to learn from people nearby. Take a local beginner beekeeping course, find a mentor, and join a regional bee club. Bees are intensely local: the right timing for feeding, harvesting, and mite treatment in your area is something a nearby beekeeper knows in their bones and a book never quite captures. This is an Intermediate undertaking, and it is far easier with someone in your corner.
Choosing your hive and bees
You have two main hive styles to pick from. The Langstroth is the standard almost everywhere: stackable boxes filled with removable frames, easy to inspect, easy to expand by adding boxes, and the format every mentor and supplier will know. The top-bar hive is a single long horizontal box where bees build comb down from wooden bars; it is gentler on your back and appealing to some, but harder to find help and equipment for. For a first hive, Langstroth is the path of least resistance.
For the bees themselves, start with a gentle, forgiving race. Italians are calm, build up well, and are widely available, which makes them a common beginner choice. Carniolans are also docile, overwinter thriftily, and handle cool springs nicely. Either is a fine place to begin; save the more temperamental or specialized stock for later.
How you obtain that colony matters. A nuc, or nucleus colony, is a small but already-working hive: a laying queen, a few frames of brood, and bees that are off to the races the day you install them - the easier, more reliable start. A package is a screened box of loose bees with a caged queen and no comb; it is cheaper and ships well, but it takes longer to establish and asks a bit more of a beginner. For your first year, a nuc is worth the extra money.
Siting and equipment
Where you put the hive shapes how well it does. Aim for morning sun, which gets the bees flying early, with some afternoon shade in hot climates. Give them a wind break - a hedge, fence, or building - so winter gusts and storms do not hammer the entrance. A nearby water source is essential, because bees collect water constantly; a shallow dish with stones or pebbles to land on, kept topped up, keeps them from pestering a neighbor's pool. Finally, face the entrance away from paths, doors, and foot traffic, and if you can, point it toward a hedge or fence so bees rise up over head height as they leave. They need surprisingly little ground, so a quiet corner is perfect.
The starter kit is short and lasts years. You want a protective suit or at minimum a veiled jacket, so your face and neck are covered; gloves, which most beginners are glad to have early on; a smoker, which calms the colony and is the tool that makes calm inspections possible; and a hive tool, the flat metal pry bar you will use constantly to lift frames and scrape away the propolis bees glue everything shut with. That is genuinely most of it to get going.
Through the seasons
Beekeeping is a yearly cycle, and each season has its job.
In spring the colony wakes and builds up fast. Your main task is the swarm watch: a healthy, crowded hive will try to split and fly off if it runs out of room, taking half your bees and your honey crop with it. Give them space as they grow and keep an eye out for the signs that they are preparing to swarm.
Summer is the nectar flow, when bees pour in surplus and fill comb. Your job is to stay ahead of them by adding boxes (called supers) so they always have somewhere to store honey; a hive that runs out of room slows down or swarms. This is the season that makes your harvest.
In fall you take the surplus honey, then turn to winter prep. Make sure the colony has enough stores left to survive the cold months, and feed sugar syrup only if they are genuinely short - bees do best on their own honey, and you feed to fill a gap, not as a habit. Reduce the entrance against robbing and mice, and make sure the mite load is under control before winter (more on that below).
Winter is mostly hands-off. The bees cluster and keep their queen warm, living off their stores. Leave them alone; do not open the hive in the cold. The kindest thing you can do is resist the urge to peek and let them get on with it.
Inspections and routine
During the active season, plan to open the hive for a proper look roughly every week or two - often enough to catch problems, not so often that you set the colony back. Each inspection disrupts them, so go in with a purpose and get out.
When you are in there, you are checking a short list. Is the queen laying, which you confirm by finding eggs and a solid, healthy brood pattern rather than necessarily spotting her? Is there brood of all stages, telling you the colony is growing? Are there enough stores of honey and pollen? Do they have room to expand, or are they getting crowded and in need of another box? And are there any signs of trouble - an odd smell, spotty or sunken brood, pests, or a queen who has stopped laying? Over time this becomes a quick, confident read.
The temptation as a beginner is to open the hive constantly out of curiosity. Resist it. Every inspection chills the brood, interrupts the work, and stresses the colony. Look when you have a reason to, then close up and let them do their thing.
Pests and diseases
The one threat that dominates modern beekeeping is the varroa mite. This parasite weakens bees and spreads viruses, and an unmanaged infestation will kill a colony, often over winter when you least expect it. You must monitor mite levels through the season and act when they climb. This is not optional and it is not something you can ignore and hope away; more beginner hives are lost to varroa than to anything else.
Other troubles to know: the small hive beetle, which invades and fouls comb, especially in warm climates; and the serious brood diseases, American foulbrood and European foulbrood, which damage the developing young and, in the case of American foulbrood, are highly contagious and often require destroying the hive. These are exactly the situations where local expertise is irreplaceable.
For any diagnosis or treatment, work with a local mentor, your bee club, and your state or regional apiary or bee inspector, and a vet where your area requires one for certain medications. They can confirm what you are seeing and guide treatment that is correct, legal, and timely. Be aware too that in many places you are required to register your hives, and a number of treatments are regulated - so check the rules where you live before you need them. I am deliberately not naming specific medicines or doses here, because the right choice depends on your location, your regulations, and a proper diagnosis.
What you get
The obvious rewards are honey and beeswax. Honey is the headline - your own raw, local honey, jarred from your own corner of land - and wax is the useful bonus that goes into candles, salves, and wood finishes. A established hive in a good year can produce a real surplus of honey, though how much swings widely with your climate, forage, and the season.
The quieter reward is the big one for a homestead: pollination. A couple of hives sends thousands of foragers across your gardens, berry patches, and orchard, and you will often see it in heavier fruit set and fuller harvests. For many homesteaders this alone justifies the bees.
One honest caveat: do not count on much honey in year one. A new colony spends its first season building comb, growing its numbers, and laying in stores to survive winter, and it may give you little or no surplus to harvest. That is normal and not a sign you have done anything wrong. The payoff builds from the second year on.
Getting started
Start by learning, not buying. Take a local beginner course over the winter, line up a mentor or club, and read up so you understand the year before your bees arrive. Plan to begin with two hives rather than one. Two lets you compare a strong colony against a weaker one so you learn what healthy looks like, and it lets you share resources - a frame of brood or stores from the strong hive can rescue the struggling one, an option you simply do not have with a single hive.
Order your bees in late winter for spring delivery; good suppliers and nucs sell out early, so do not wait until the season is on you. And before any of it, check your local registration rules and any keeping regulations for your area, so you start on the right side of them.
Rough costs
Expect a meaningful but one-time setup cost, then modest upkeep. A complete Langstroth hive with frames runs roughly a couple hundred dollars or so each, and remember you are buying two. Bees add to that: a nuc typically costs more than a package, with each running somewhere in the low hundreds depending on your area and the season. Your protective gear, smoker, and hive tool together are roughly another hundred or two, and they last for years.
After the first season the running costs are small - the occasional replacement frame or box, sugar for feeding when needed, and mite monitoring and treatment supplies. All in, budget roughly several hundred to around a thousand dollars to get two hives properly started, then comparatively little year to year. For livestock that needs no daily chores and pays you back in honey, wax, and a better-pollinated homestead, it is a genuinely fair trade.